Midget / U16 / U18 Full Ice Practice #2
Midget / U16 / U18 Full Ice Practice #2

Practice Notes
Warm Up Passing and Shooting
- Patrick Perpetual Breakout Drill (10 mins)
Breakout Drills
- Continuous Rim Drill
- High Speed Chase
- Continuous Breakouts with Designated Forechecker
Backchecking / Conditioning
- Continuous 2 on 1 with Backchecker
**View information on backchecking in different situations.
Practice Layout
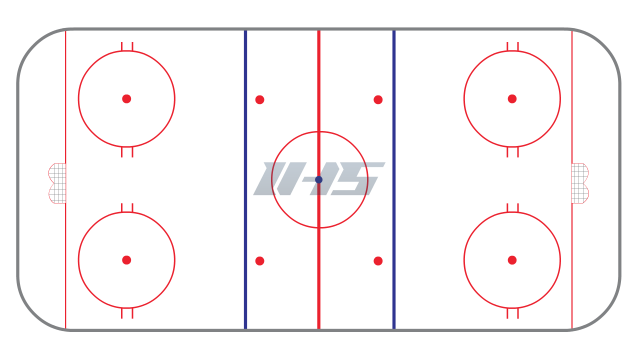
Patrick Perpetual Breakout Drill
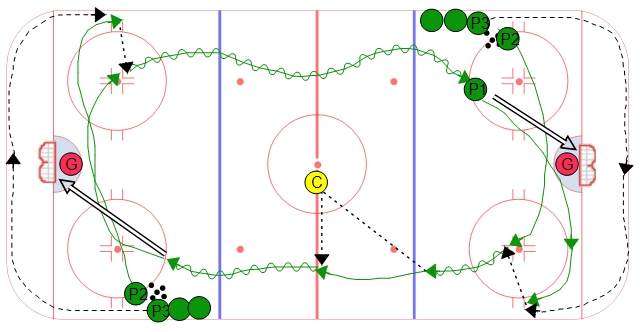
- "Ghost man" passers start the drill by shooting then picking up a puck behind the net to initiate the breakout.
- Low forward simulates winger and swings in to pick up board-side breakout pass.
- High forward swings through and acts as the centerman providing middle support.
- Winger one-touches to center, who attacks and shoots, then initiates breakout in far zone.
- Winger moves to middle line
NOTE: winger can swing from top down, or from bottom up, depending on your team's breakout set up.
Continuous Rim Drill
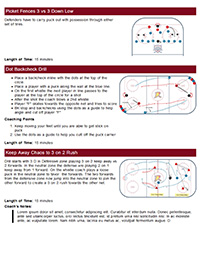
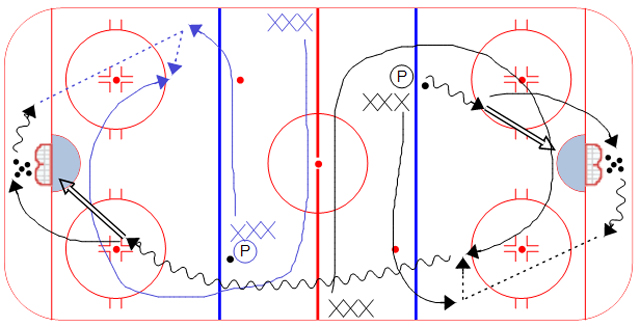
If your wingers need help making plays along the wall in the defensive zone, then this is a good hockey drill which gives players a lot of repetitions in this situation. Form two lines with pucks at the hash marks on opposite ends of the ice as shown in the diagram. The line should face the goal line. Just to start the drill place a player at the blue line with a puck. At the start of the drill this player will skate into the high slot and take a shot on net then follow the shot to the net. After looking for a rebound they will sprint to the corner (opposite the line of players) and get prepared for the rim by P3. P2 has to time their swing into the slot so they can provide good support for P1 as they retrieve the puck off the wall. P1 will make a direct pass or a chip off the wall to P2 as they swing. P2 will then carry the puck down the ice for a shot and become P1 for the next repetition at the other end.
One variation is to place a coach or another player at center ice. As P2 receives the pass from P1 they have to make a give and go with this additional player at center ice.
Another variation is to add defense in the middle of the ice. They have to create a good gap as the puck is rimmed and then play a 1 on 1 against P2.
High Speed Chase
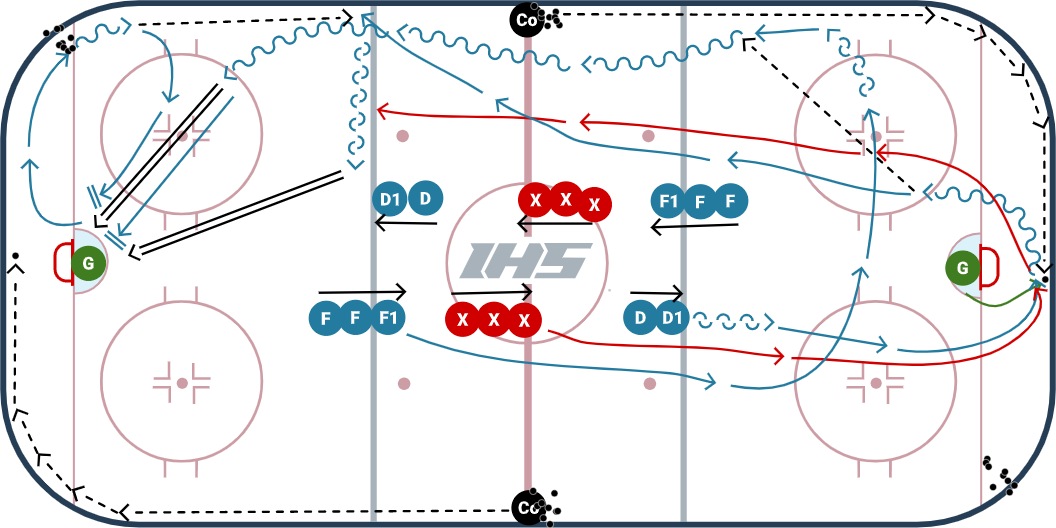
This drill creates a sense of urgency as the defense retrieve the puck behind the net, use the net to fend off the forechecker and then move the puck up ice to the forward with speed. It includes good concepts for forwards, defense, and goalies.
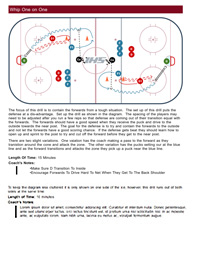
The drill starts by the coach rimming the puck around the boards so that the goalie is able to stop it behind the net and set it up for the defense. The defense starts backwards at the blue line, quickly pivots and skates to retrieve the puck behind the net. The defense will have to have urgency when retrieving the puck and use the net to fend off the forechecker. The forechecking forward has to pressure as hard as they can and after the puck is moved up ice they have to backcheck and try to pressure the puck all the way to the far blue line. The supporting forward will time their swing to support the defense as they bring the puck up the ice. The timing of their swing is important. They want to slightly ahead of the defense but not too far up ice so they don't have to look back for the puck.
After the initial rush the forward picks up a puck out of the corner and pass it back to the defense. The defense walk the puck along the goal line and takes a second shot on net.
To keep the diagram less cluttered it is only shown on one side of the ice, however, this drill runs out of both sides at the same time.
Continuous Breakouts with Designated Forechecker
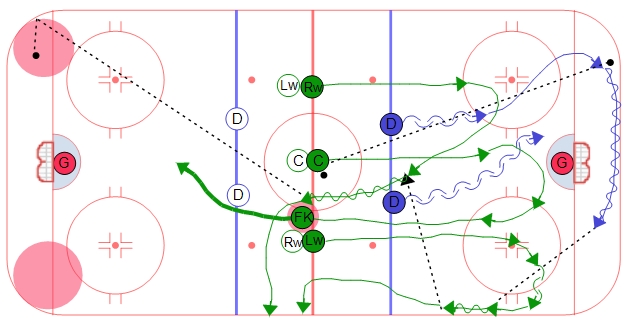
This variation of the Continuous Backcheck drill includes a designated forechecker. The coach will designate one of the forward positions to become the forechecker. This is also a good drill to simulate changing on the fly with one player applying pressure while the other two change. If the coach designates the Center to be the forechecker, then after the dump, the center will stay out and forecheck against the next breakout group.
Continuous 2 on 1 with Backchecker
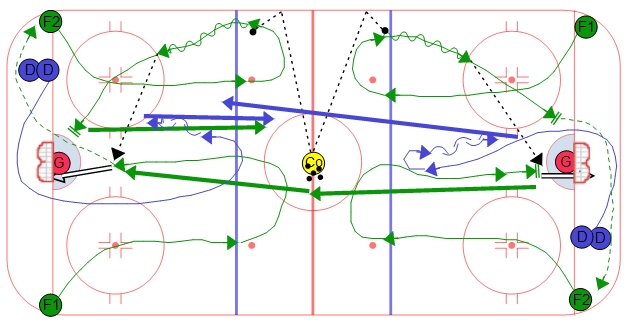
This is a continuous 2 on 1 with a backchecker. It is optional to include the defense in the offensive rush to create a 3 on 2 situation. The pucks are with the coach at center ice. On the whistle F1 and F2 sprint out of the zone inline with the dots. The coach signals which way to transition and the forwards react to the coach. The strong side forward opens up and the weak side forward supports. At the same time, D1 skates around the net and re-takes as much ice as possible to play the 2 on 1. After the initial rush at the net, the coach blows the whistle and the players do the same thing from the other side. On the same whistle, F2 backchecks against the players starting from the other side. They need to communicate with the D if they can pick up the weak side. If you are including the defense, then D1 also skates to the other end and looks to become a trailor to make it a 3 on 2. The drill continues back and forth on the whistle. The player that comes from the F2 line is always the backchecker. F1 should go to the F2 line after the whistle.
Backchecking vs. 2 on 1
When backchecking against a 2 on 1 it is key for the defense to recognize the situationa and communicate with the foward. The defense should take away space from the puck carrier when they realize that the backchecker can get to the other player on the weak side. Here are some key points:
- defense recognizes they have a backchecker
- defense comunicates with backchecker to take the weak side
- defense takes away space from puck carrier and makes it tough for them to pass the puck to the middle of the ice with good stick position
- backchecker has to move their feet until they are on defensive side of the weak side attacker
- backchecker needs to take care of the attackers stick so they cannot get a pass or a rebound
